My grandmother was a huge fan of Deviled Eggs and made them for all kinds of holidays and family gatherings as I was growing up. I became a fan, too, so as soon as I was old enough to operate the stove safely I asked my grandmother to teach me how to make them myself. I made them with her whenever I visited, and these days I often just make myself them as a snack.
Good deviled eggs start out with good hard boiled eggs. Actually, there are lots of egg dishes (from egg salad to and brightly colored Easter eggs) that start out with hard boiled eggs. The trick to getting a perfectly cooked hard boiled egg is to cook it just long enough to cook through without making the egg tough or discolored. Nothing is less appealing than opening a hard boiled egg and seeing a gray-green cast to the once-yellow yolk. That gray-green color results from overheating eggs, which causes sulfur to be released from the egg whites and turn an discolor canary-yellow yolk.
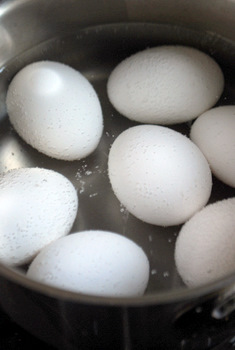
My grandma tended to estimate the time the eggs needed to boil, but I find that an actual timer works much better. I start by placing my eggs in a pot and add just enough water (tap water) to cover them.

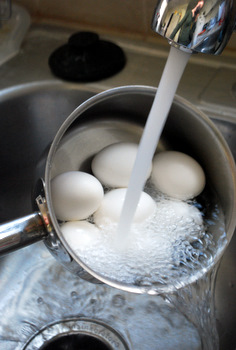
Once the eggs are in place, I cover the pot and turn up the heat, cooking just until the water just comes to a boil. I turn off the heat and set the timer for 10 minutes, letting the eggs just sit in the hot water (with the lid still on- don’t peek!) and continue cooking. When the timer goes off, I rinse the eggs in warm, then cold tap water to stop the cooking. I always start with the tap water on warm because a sudden temperature change can cause the eggs to crack. That said, if one does crack while I’m rinsing it off, I just eat that one first.

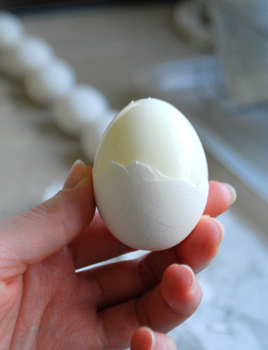
After the eggs have been rinsed for 3-4 minutes, they are usually cool enough to handle and you can peel them pretty easily right away to begin making Deviled Eggs, egg salad or some other egg dish. If you’re not going to eat them right away, pop them in the refrigerator to keep for later.
